In today’s world of modern application development and immutable infrastructure deployed as code, there remains a number of reasons why engineers require shell-level access to their instances on occasion. They might need to kill runaway processes, debug problems on a live machine, or fine-tune configurations during development; all while maintaining a strong security profile.
In this session, you will configure AWS Systems Manager Session Manager to provide secure interactive access to your managed instances without the need to expose inbound ports, manage bastion hosts, or manage SSH keys. You will learn how Session Manager works by default and will progressively increase the security posture of your environment by enabling enhanced session encryption, configuring session logging and reducing default permissions.
Scenario
You have been tasked with replacing the legacy bastion infrastructure at your organization with an alternative interactive shell-level access solution. You have been given a few key requirements and must develop a proof of concept that demonstrates the ability of Session Manager to address each:
Secure Access: The solution must communicate over a secure encrypted channel for all control and session data. The solution must not require inbound ports to be authorized (e.g. TCP 22 or TCP 3389).
Access Control: Users must be able to authenticate using IAM security principals (e.g. users and roles) and must not be required to leverage host-level authentication methods (e.g. public-key, password, etc.).
Auditing: All session activity must be tracked and logged to include all command input and output.
Cross-Platform Interactivity: The solution should provide synchronous execution of commands across both Windows and Linux platforms
Environment Setup
Click here if you're not at an AWS event or are using your own account
In order to complete these workshops, you’ll need a valid, usable AWS Account. Use a personal account or create a new AWS account to ensure you have the necessary access and that you do not accidentally modify corporate resources. Do not use an AWS account from the company you work for. We strongly recommend that you use a non-production AWS account for this workshop such as a training, sandbox or personal account. If multiple participants are sharing a single account you should use unique names for the stack set and resources created in the console.
Create an admin user
If you don’t already have an AWS IAM user with admin permissions, please use the following instructions to create one:
Click Users on the left navigation and then click Add User.
Enter a User Name, check the checkbox for AWS Management Console access, enter a Custom Password, and click Next:Permissions.
Click Attach existing policies directly, click the checkbox next to the AdministratorAccess, and click Next:review.
Click Create User
Click Dashboard on the left navigation and use the IAM users sign-in link to login as the admin user you just created.”
To setup the workshop environment, launch the CloudFormation stack below in the ap-southeast-2 AWS region using the “Deploy to AWS” links below. This will automatically take you to the console to run the template. In order to complete these workshops, you’ll need a valid, usable AWS Account. Use a personal account or create a new AWS account to ensure you have the necessary access and that you do not accidentally modify corporate resources. Do not use an AWS account from the company you work for. We strongly recommend that you use a non-production AWS account for this workshop such as a training, sandbox or personal account. If multiple participants are sharing a single account you should use unique names for the stack set and resources created in the console.
Lab
Template
Region
Lab 1 - Eliminate bastion hosts with AWS Systems Manager Session Manager
AP Southeast 2 (Sydney)
Click Next on the Specify Template section.
Click Next on the Specify stack details section
Click Next on the Configure stack options section.
Finally, acknowledge that the template will create IAM roles under Capabilities and click Create.
This will bring you back to the CloudFormation console. You can refresh the page to see the stack starting to create. Before moving on, make sure the stack is in a CREATE_COMPLETE status.
Click here if you are at an AWS event where the Event Engine is being used
Confirm the CFN template has been deployed
Browse to AWS CloudFormation Console
You should see the stacks as displayed below deployed in your account. Look for the Stack that has the description “Session Manager Workshop”
Confirm it has been deployed successfully, Status should be “CREATE_COMPLETE", if not reach out to the support team for help.
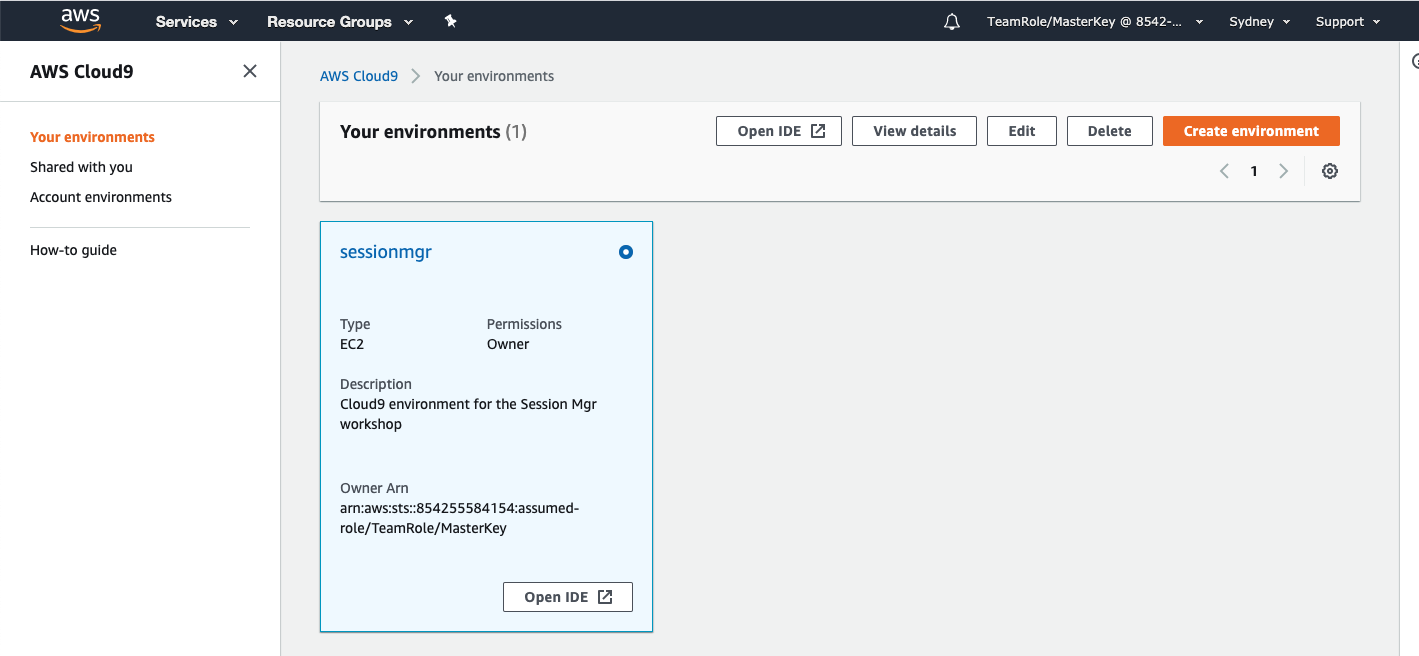
Configure Lab
Install Session Manager CLI Plugin into your Cloud9 session and create a KeyPair
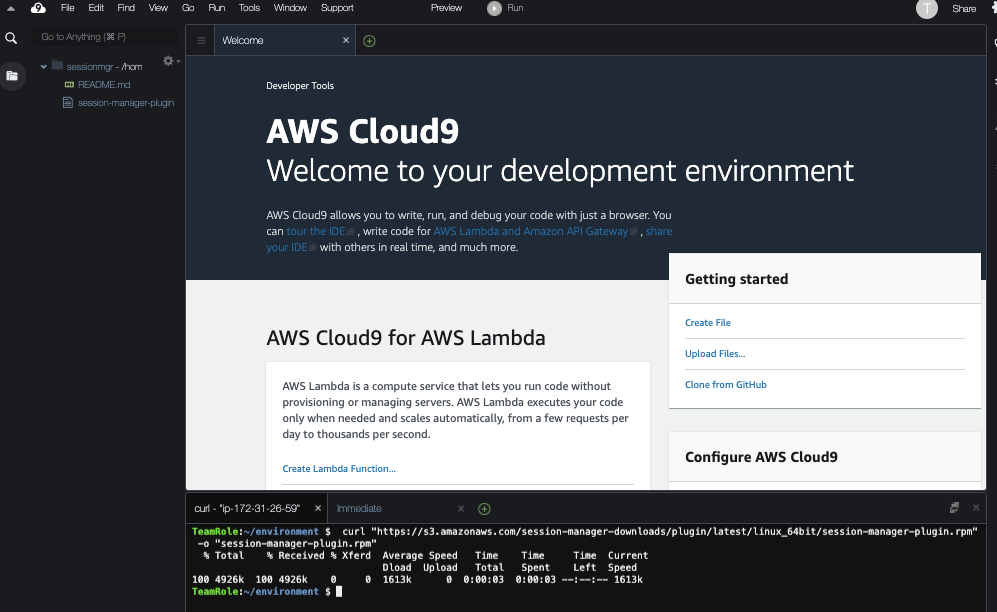
It may take a few seconds to initiate if the Cloud9 instance is not running already, once ready it should present you with a bash prompt in the terminal.
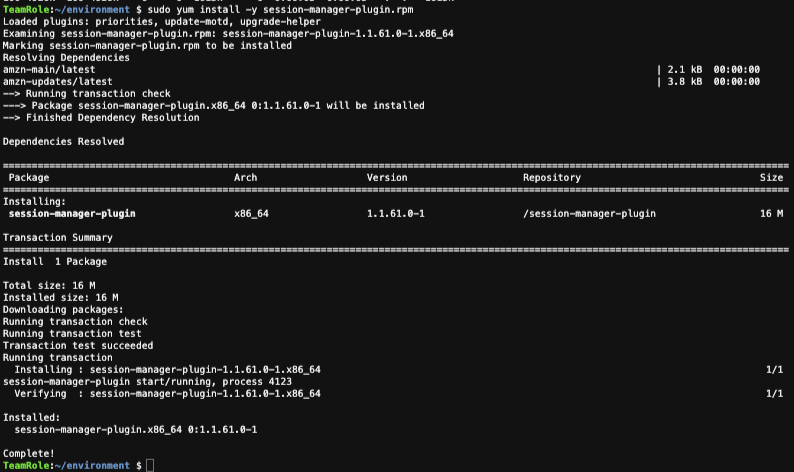
Within the terminal run the following command to download the Session Manager plugin RPM package